How To Setup a Website and Get It On The Internet

So you've decided to make your own website, but not sure where to start?
Here are a few things you will need to decide on:
#1 - Website Domain Name
This is the address people will use to visit your website. Think about what your website will be called and check whether the name is available. You may have to think of a few names that would suit your website and then research which names are available. You will also need to consider the TLD (Top Level Domain) appropriate for your website.
Some examples are:
- yourwebsite.com
- yourwebsite.net
- yourwebsite.org
- yourwebsite.co
- yourwebsite.biz
#2 - Domain Name Availability
Once you have decided on a relevant domain name, go and see whether it is still available to purchase. To check the domain availability, go to: https://domains.google.com/about/
Once you've determined if the domain is available or not, you will need to register it with a hosting provider (step #3).
#3 - Register With A Hosting Provider
You have to decide on a hosting provider (this makes your website accessible on the internet).
There are thousands of hosting providers out there, but here are 2 of the most popular hosting providers:
Bluehost
www.bluehost.com
HostGator
www.hostgator.com
Both of these hosting providers offer a free domain registration, a money back guarantee, 24/7 support, advertising offers and free website builders.
#4 - Develop Your Website
Now comes the fun part... developing your own website.
There are many different ways to develop a website. You can use a theme site like WordPress or you can design it from scratch. It's not as difficult as some may think. Below are some recommended courses to help you develop your own websites:
- Thinkful (you also get $50 off from Study Web Development)
- Udemy (huge selection of courses)
- Lynda (sign up for a free trial)
#5 - Upload Website To Hosting Provider
Once you've designed your website, you will need to upload it to your hosting service provider.
You do this by using an FTP client. You will need to use your FTP username and password which your hosting provider sent you via email.
We highly recommend FileZilla as your FTP client. It's 100% free and extremely popular.
FileZilla www.filezilla-project.org
Once you've downloaded it, you will be provided with something that looks like this:
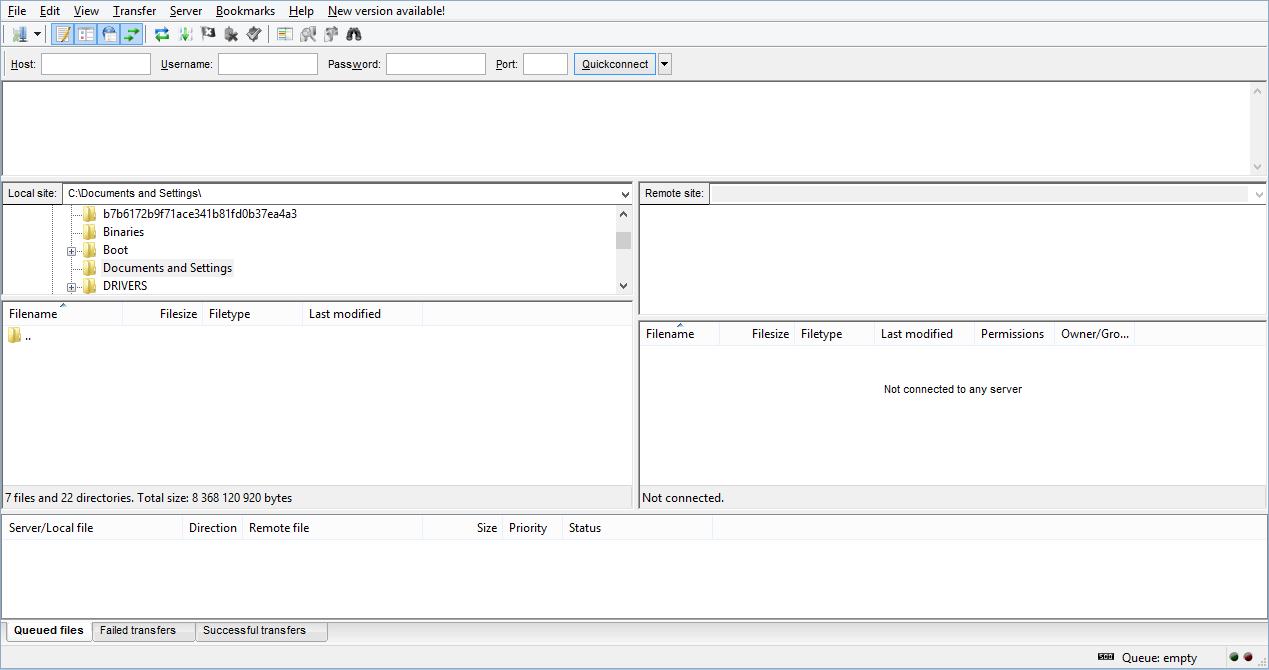
Enter the hostname of your domain into the Host field and also fill out the Username and Password fields as provided to you by your hosting service provider. You can leave the Port field blank, unless otherwise specified by your hosting provider in which case you need to enter the port number provided.
You can then click on Quickconnect

Once connected, you need to browse to your website files (on the left pane below) and then drag and drop them into the public.html folder (on the right pane below).
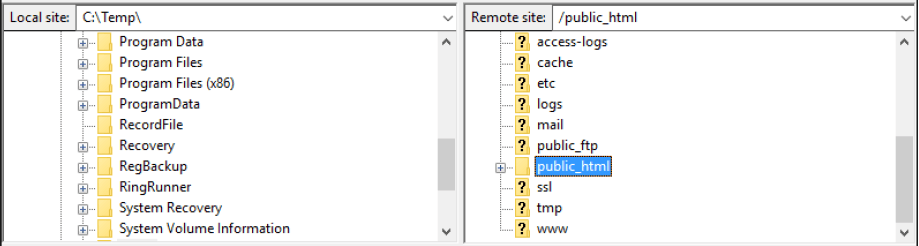
At the bottom of the FileZilla window, you will see 'Queued files', 'Failed transfers' and 'Successful transfers'.

Once the queue is empty and all files are under Successful transfers, your website should now be live.
You have covered the basics of how to get your website online - this calls for a glass of champagne :) Now that you are online, the most important thing is to create an incredible website, and one which acheives the goals you created it for.
Take action today. View all our recommended web development courses here.
If you found this article helpful, please share it below.
If you found this article not so good please email us so that it can be improved.